Put your Own Logo
NOTE: Since revision 10197 (sep-14/2009) the logo can be added on company info or organization info, and the logo column can be printed on the documents.
As far as format is concerned, all invoice layout element is stored in a "format item". The logo is then a "format item" that belongs to the "invoice" format.
All we need to do is find this "format item" and change the image in there by our own logo.
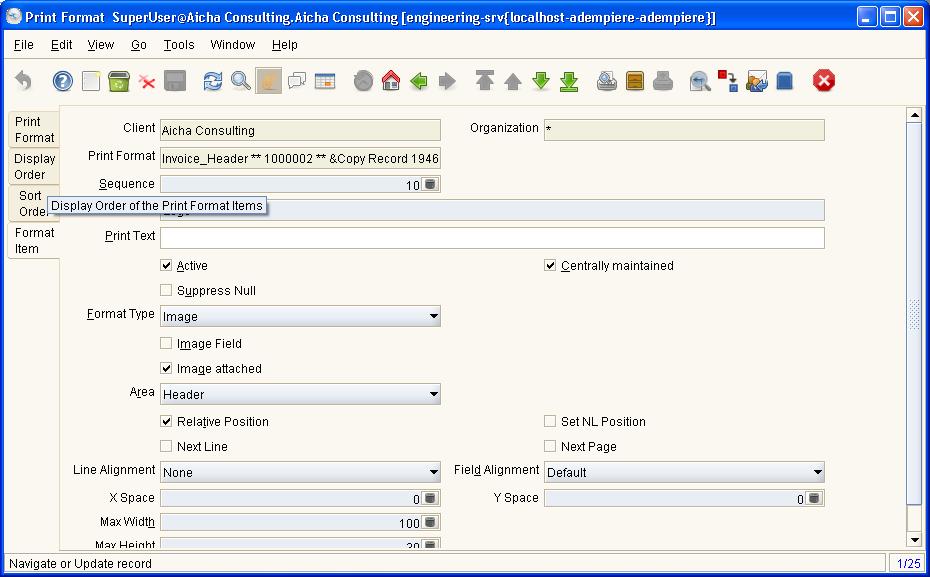
To do this, you need to reach the format item tab that belongs to the invoice layout template you're using.
1-) Go to Adempiere Main Menu ==> General Rules ==> Printing ==> Print Form ==> right click on the "Invoice Print Format" and zoom ==> You are in the "Print Format" window ==> Go to "Format Item" tab and search for logo.
2-) When there, attach your logo using the attach "Icon" and then make sure the tab "Image Attached" is ticked.
3-) To review your changes you can do two things depending on the changes: - When you have attached a new image unfortunately you need to flush the cache or restart the server. - If you changed the formatting(eg alignment) then just re-select the report template in previewing mode. (Enable Print Preview, Print Invoice, choose the combobox in the top panel to select the template).
4-) You can activate the "print preview" to avoid creating documents through the main menu ==> tools ==> preferences ==> tick where it says "always print preview"
--Hakemvoip 17:39, 19 January 2007 (EST)
