Difference between revisions of "How to Configure Dynamic Approval Workflow"
| Line 43: | Line 43: | ||
[[Image:07node-unaprv.png]] | [[Image:07node-unaprv.png]] | ||
| − | 10. | + | |
| + | 10. Similar to step 9, create also node for (SetDocAction), (SetDocStatus), (SetProcessed) & (SetProcessed), | ||
| + | set each node column and attribute value according to following image. | ||
| + | |||
| + | [[Image:09node-action.png]] | ||
| + | |||
| + | [[Image:11node-status.png]] | ||
| + | |||
| + | [[Image:13node-Processed.png]] | ||
| + | |||
| + | [[Image:15node-Processing.png]] | ||
| + | |||
| + | |||
| + | 11. Back to node (SetUnApprove), then move to Transition tab and create new transition for this node. | ||
| + | Set next node to (SetDocAction). | ||
| + | |||
| + | [[Image:08trans-unaprv.png]] | ||
| + | |||
| + | |||
| + | 12. Repeat step 11 for node (SetDocAction), (SetDocStatus), (SetProcessed) & (SetProcessed) as following | ||
| + | image. | ||
| + | |||
| + | [[Image:10trans-action.png]] | ||
| + | |||
| + | [[Image:12trans-status.png]] | ||
| + | |||
| + | [[Image:14trans-processed.png]] | ||
Revision as of 11:35, 11 May 2007
Customize Requistion for Dynamic Workflow so that each newly created document only can be approve by user stated in Comment/Help.
The trick is using only depend on 2 field from m_requistion that is : "help" and "updatedby". Let's get it on :
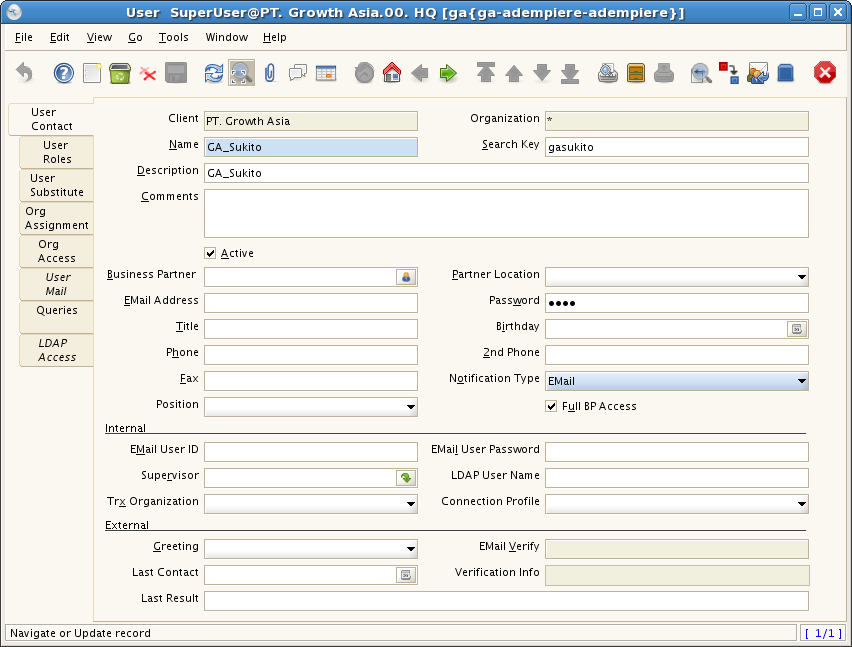
1. Login as GardenAdmin and Create new users ie Felix & Sukito
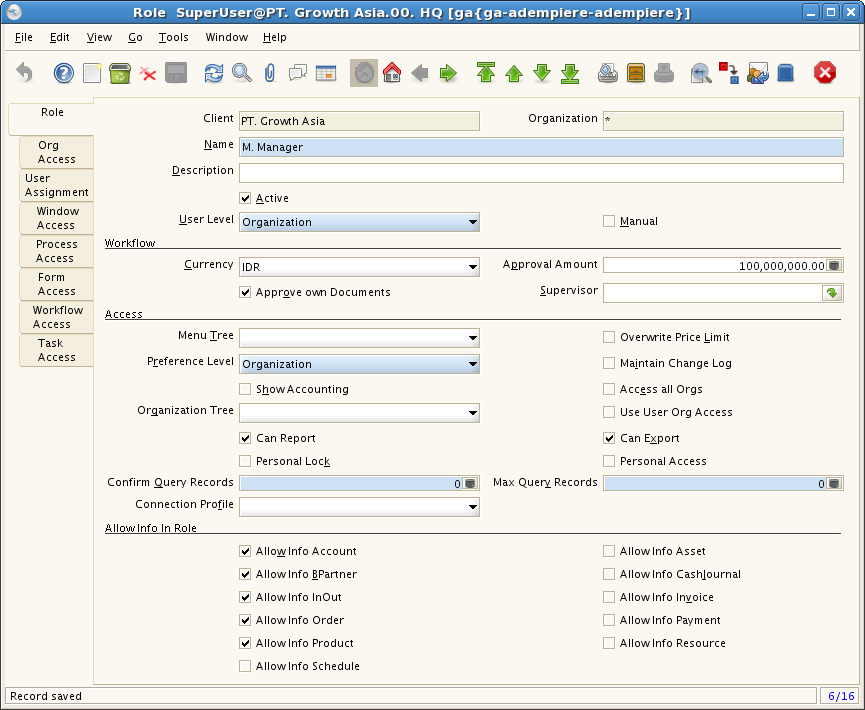
2. Create new role ie. Manager then tick Approve own documents and make sure to fill in Approval Amounts
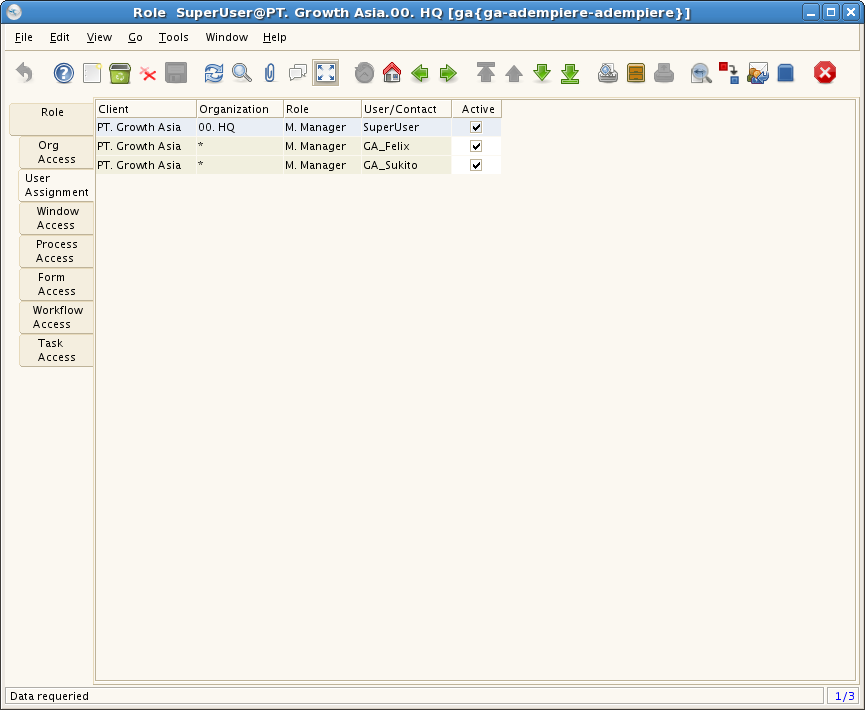
3. Assign Users into this role.
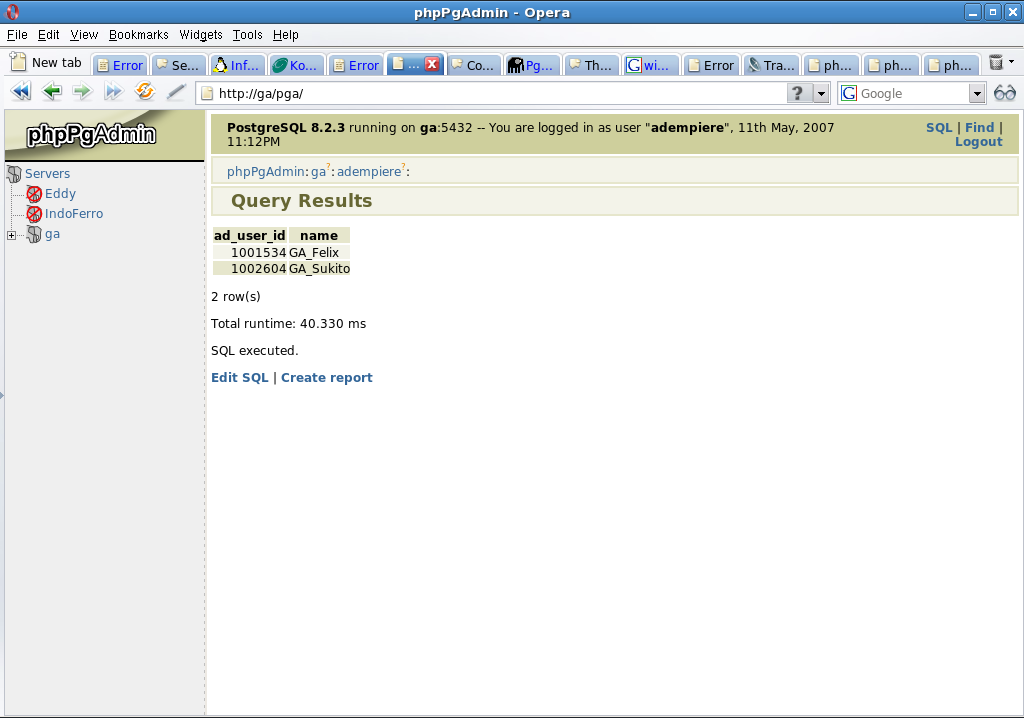
4. Write down ad_user_id of the newly created users (we are going to use it later).
5. Logout and Login as System Adminstrator.
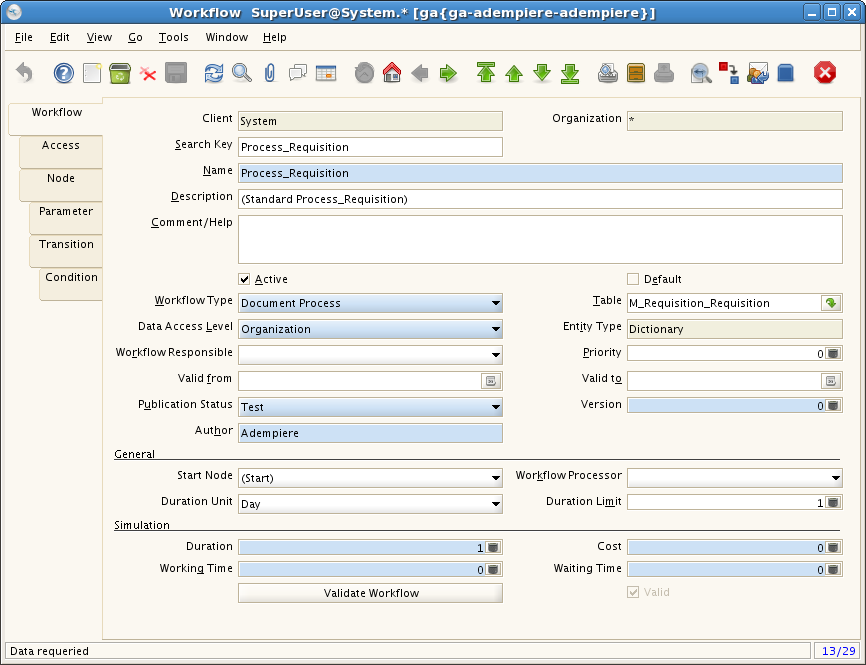
6. Goto Workflow
7. Select Process_Requisition.
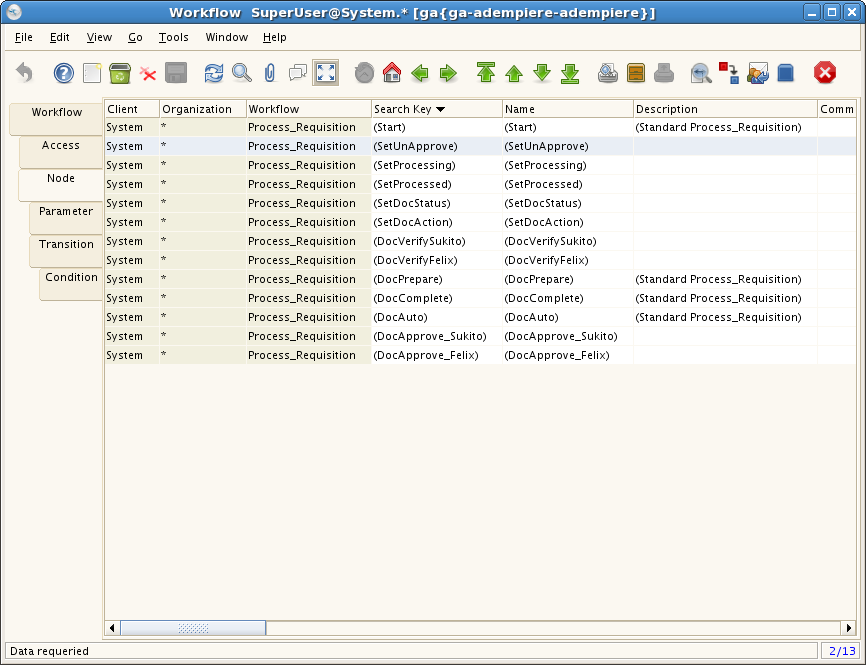
8. Move to Node Tab, we are going to make as following node.
9. Begin with create (SetUnApprove) node, set action to "set variable" and choose "isApprove" column then
type "N" in Attribute box, save it.
10. Similar to step 9, create also node for (SetDocAction), (SetDocStatus), (SetProcessed) & (SetProcessed),
set each node column and attribute value according to following image.
11. Back to node (SetUnApprove), then move to Transition tab and create new transition for this node.
Set next node to (SetDocAction).
12. Repeat step 11 for node (SetDocAction), (SetDocStatus), (SetProcessed) & (SetProcessed) as following
image.
