Creating WebUI Workspace using Eclipse Webtool
Contents
Debugging the ZK webui
Overview
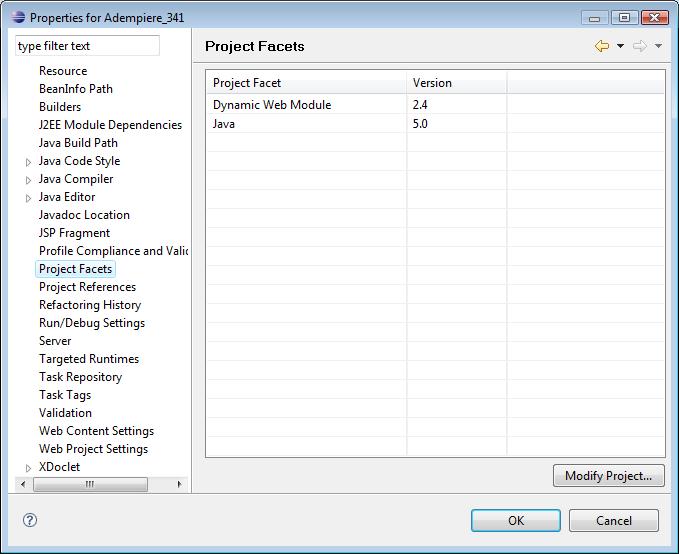
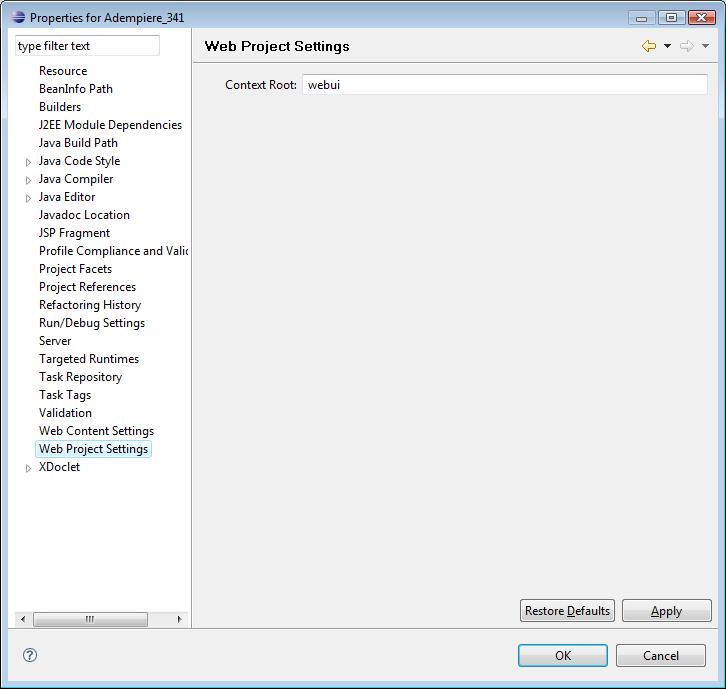
Eclipse Webtool support is added at revision 5969 in branches/stable and 5967 in branches/adempiere341 for the single ADempiere project setup workspace. This additions allows you to run or debug the Zk web client using Eclipse webtool (Europa JEE and above ) and Apache Tomcat. You can verify that everything is in place by checking the project properties:
- Project Facets (do not change anything here.)
- Web Project Settings
Install Tomcat Runtimes
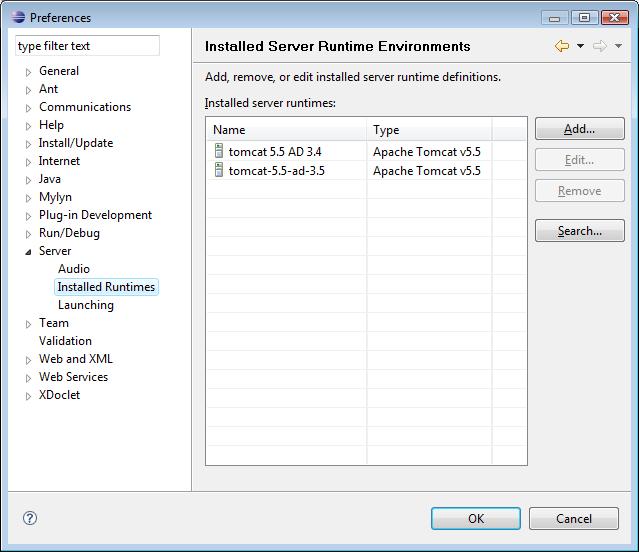
First, you need to install a Tomcat runtime for the deploying and running of the zk Web Client. Use Tomcat 5.5+
To install a new Tomcat runtime, open the preferences dialog Window->Preferences and select the Server->Installed Runtimes. Use the Search button to locate your tomcat installation home folder.
Define a New Server
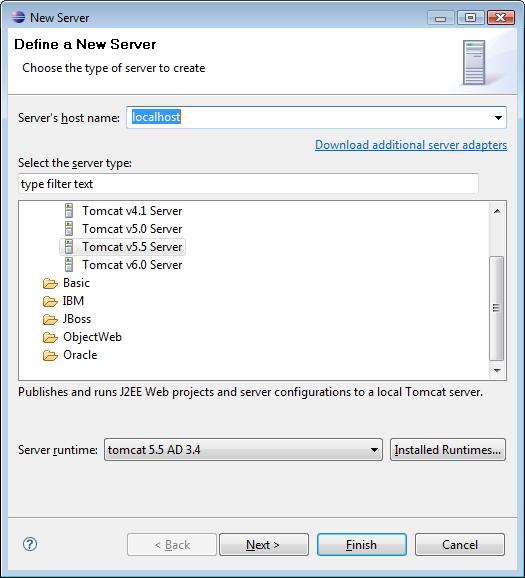
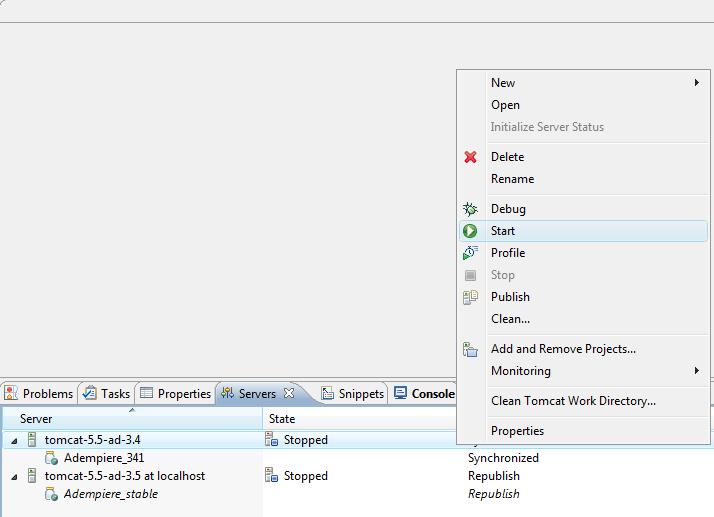
- At the Servers view, right click to open the context menu and select New->Server.
If server view is not visible then you can use Window→Show View→Others ... to open it.
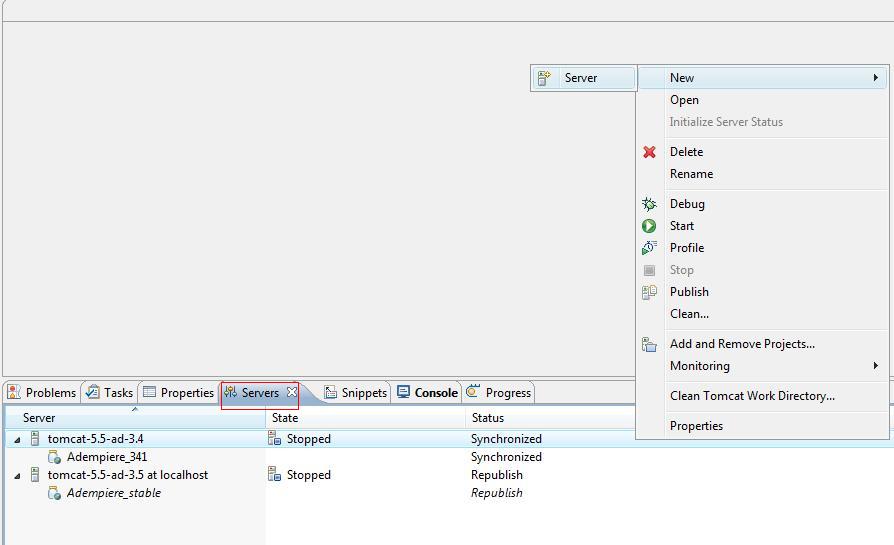
- Select the correct server type and the server runtime you have setup earlier.
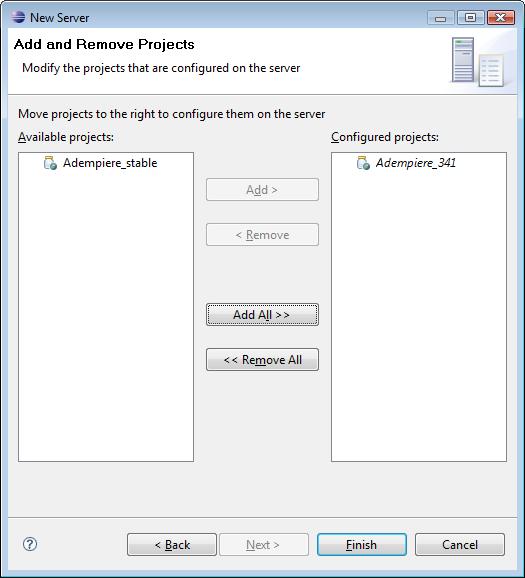
- Add your project to the server instance to be created
- The created server instance is now ready for use. Just Start the server once and then stop it. Do not try to debug it at this moment.
Define location of ADempiere property file and ADempiere home
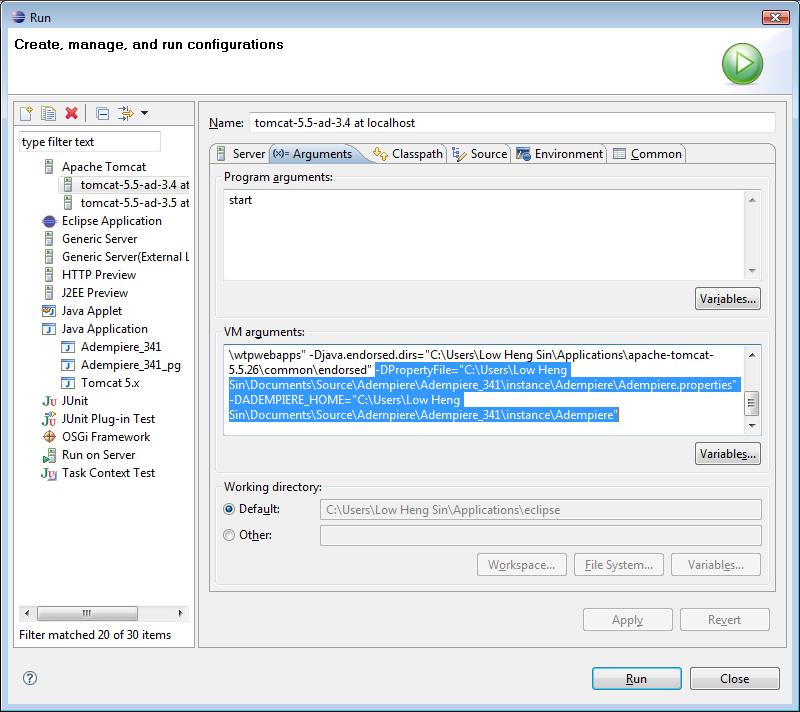
Now you have to define the location of your existng working 'Adempiere.properties' file and ADEMPIERE_HOME as system parameter for your Tomcat Instance. To do so, select Run->Open Run Dialog... and select the server instance you have created. Note Note that the entries for your server instance in the Run dialog will only be created after you have start it for at least one time. Select the arguments tab and append your property file path and home parameter at the end of VM arguments.
It is highlighted in the pictures below:
Hengsin 01:11, 4 August 2008 (EDT)
To avoid the problme "NoClassDefFoundError" you need to following the guidlinse suggested below in 'Trouble Shooting'. So, first follow that instruction, before you debug the zk webui.
Trouble Shooting
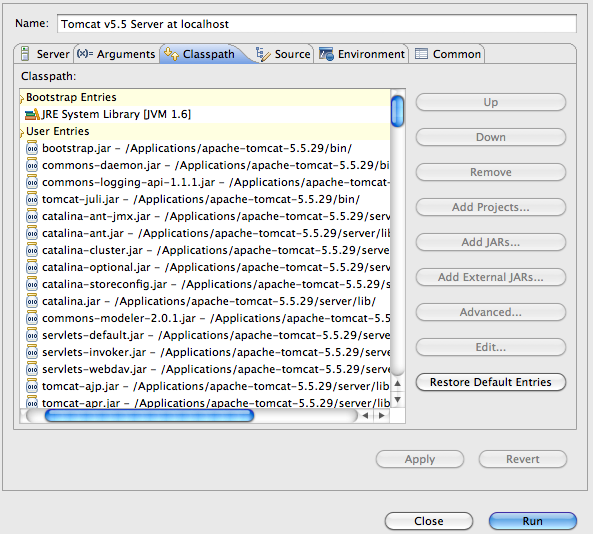
I had a problem to start Tomcat with "NoClassDefFoundError". Missing class path to adempiere jars. Solved by editing run configuration. Go to classpath section at user entries add external libs from tomcat\lib (or tomcat\server\lib) than add project - AdempiereTrunk
Apache jars needs to be at the first place in the classpath. See the image carefully along with the description below.
- Bootstrap Entries
- JRE Library
- User Entries
- tomcat_dir/bin/*.jar
- tomcat_dir/server/lib/*.jar
- Adempiere Project
- Adempiere Libraries
